Repairing the blade of a Master Replicas FX Lightsaber
I own a Master Replicas (Hasbro) FX Darth Vader Lightsaber since quite a while. For no apparent reason some of the lights did not come on anymore. I was searching high and low on the web, but did not find anything. So I decided the go ahead and try to fix it myself. Out of this experience I’ve created this little repair guide. As usual I do not take responsibility when your lightsaber breaks while attempting this repair, nor if you harm yourself or others in the process!
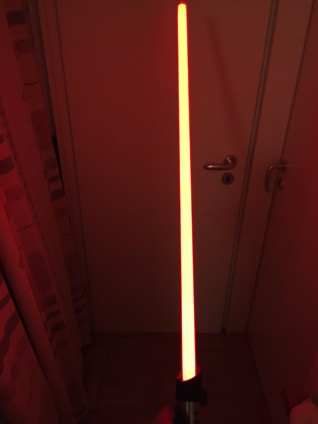
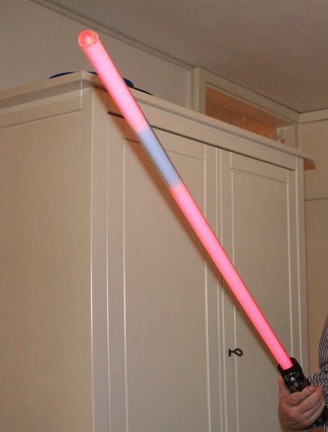
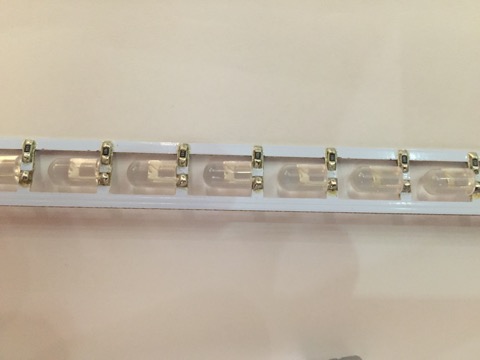
Here’s how the s lightsaber looked like with the missing LEDs.
Note! This instruction works only for lightsabers with detachable blade! Soldering is required!
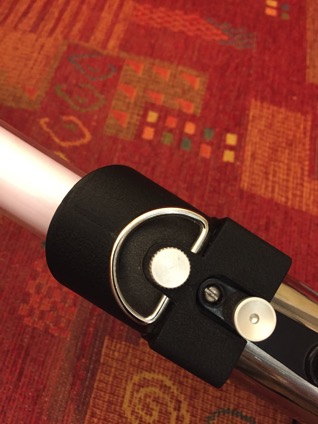
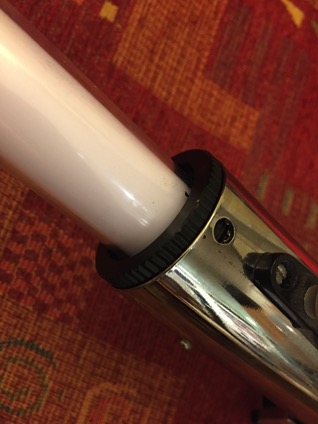
1.) Detach the blade by first loosening the front thumbscrew. Then remove the black plastic part by gliding it up the blade. Next unscrew the large black sleeve nut. Now the blade is lose and can be detached.
2.) Mark the position of the notch on the blade for later alignment
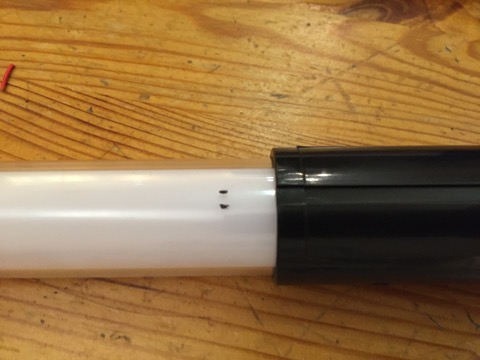
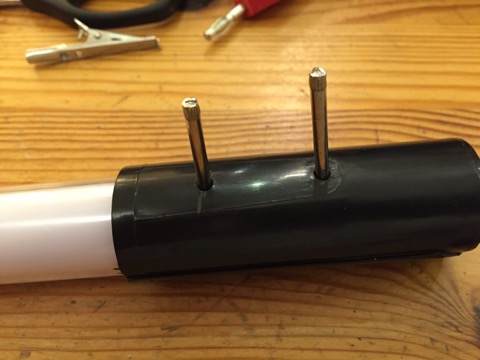
3.) Now the two metal bolts have to come out. Turn the blade so that it points to the left and the notch on the black bit is facing away from you. Then use a small Allen screwdriver and push the pins out. Once they stick out on one side you can grab them with a pliers and pull them out gently.
4.) Now you can remove the black sleeve. In my case it was easiest to slide it over the whole blade. Just go in whatever direction is easier.
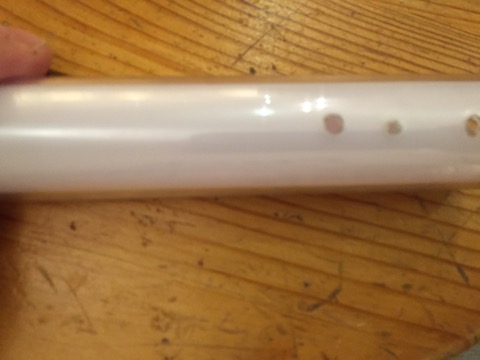
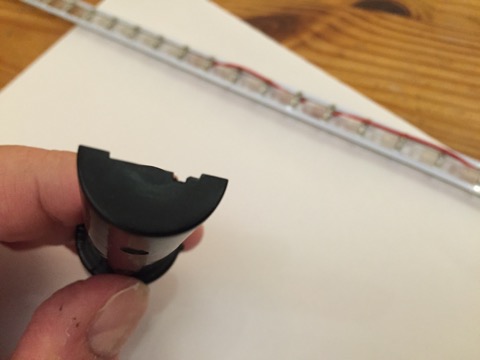
5.) You are left with the blade and a little black plastic bit (the connector housing) on the right side.
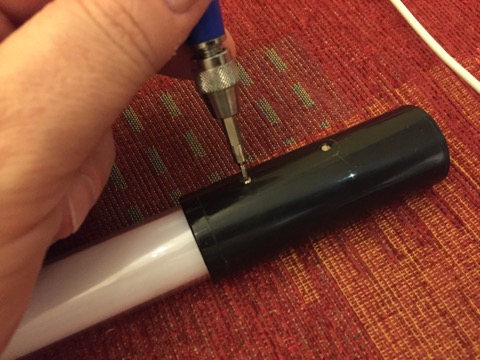
6.) There is one more small bolt in the middle between the two holes. In my case the bolt prevented the LED strip from sliding out of the tube. So I had to get rid of it. I simply used the Allen screwdriver and pushed the bolt in. By doing this something inside the black bit broke, but that did not matter as I discovered later.
6.1) The black connector housing has a small tongue. Mark the position of the tongue on the blade.
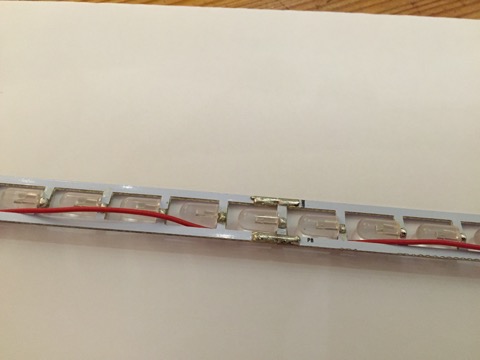
7.) Now you can gently pull the black piece and the LED strip out of the polycarbonate tube. The LED strip is actually inside a foam tube which you can also glide off.
Work on a table and never let the strip dangle!
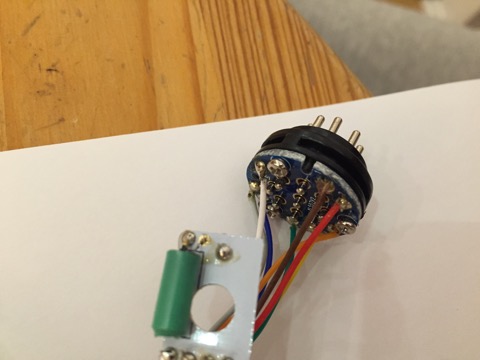
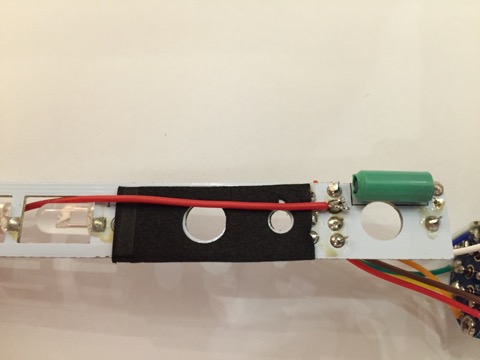
8.) The LED strip is separated into 6 sections which light up independently. This creates the startup and retract illusion. Once you open the black connector housing you will see a round circuit board and wires which connect the connector pins to the LED strip.
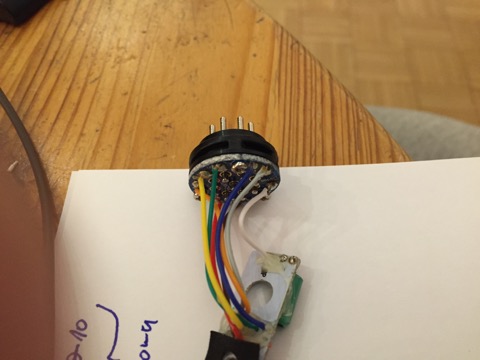
Be careful, the wires break off easily!
Here’s what the wires are doing:
white = return from impact sensor (the green round thing)
grey = +
violet: LED 55 - 64 (top)
green: LED 44 - 54
yellow: LED 33 - 43
orange: LED 22 - 32
red: LED 11 - 21
brown: LED 1 - 10 (bottom)
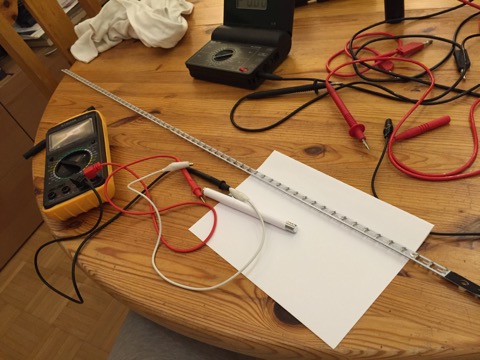
The LEDs are all connected to + via 100 ohms resistors. To light them up the respective cluster is pulled to ground through a transistor in the handle of the lightsaber .
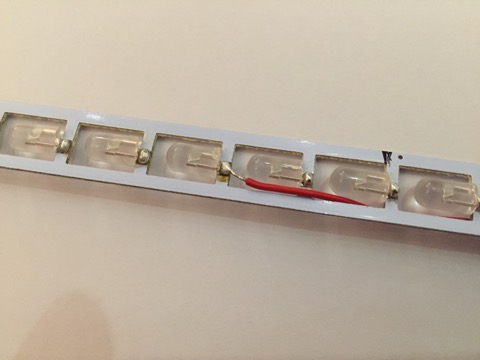
In my case LEDs 44-54 did not get pulled to ground anymore. The strip is actually a circuit board and one of the printed circuit paths must have been broken.
9.) I decided to run a wire from the broken cluster to the base where I connected it to the green wire.
10.) To prevent the wire from obstructing the two halfs of the connector housing I’ve used my trusty Dremel to cut away a bit of the plastic
11.) Put the connector housing back - the connector has some coding notches! There is only one way how to put this back correctly, if you have to force it, then you’ve assembled it wrong! Make sure you’re not pinching any of the wires!
12.) Slide the foam tube over the LED strip
13.) Insert the Foam and LED strip into the polycarbonate tube. Make sure that the tongue on the connector housing aligns with the mark you’ve made on the blade earlier.
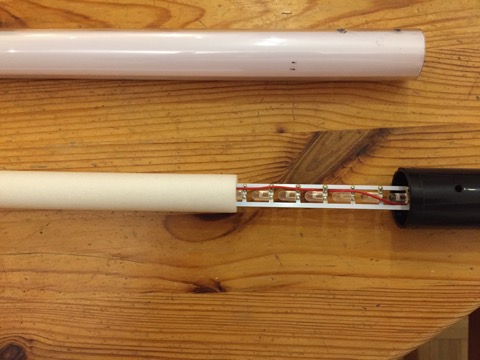
14.) Push the outer plastic tube over the connector and blade. Align the grove with the mark you’ve made earlier. Align the holes in the black tube and blade.
15.) Push the bolts back in. The grove facing towards you use a small hammer and put the two bolts back in place.
16.) Voila! The perfectly working lightsaber